About PLTW
PTLW, or Project Lead The Way, is a non-profit organization aimed at giving students from elementary to high school an easily accessible way to explore career paths in STEM fields and learn real-world skills to excel in their future jobs. PTLW’s core values are togetherness, inclusion, learning, and customer centricity, which create a caring and judgment-free environment for students to participate in hands-on learning without fear of failing in front of others.
Featured Projects
Watchfall (11)
In some assisted living facilities, caretakers struggle to monitor their patients around the clock. However, despite their importance in preventing injuries, existing devices meant to monitor senior movements and detect falls are exorbitantly expensive. Our project addresses this by flagging seniors who go through these issues, covering a critical gap in safety. As Hardware Engineer, I designed the CAD for the device, ensuring a robust design suitable for the purpose it served. The system was divided into several major functional blocks. The Detection System consisted of two IR Speed Sensors, which were used to monitor movement and provide the inputs necessary for identifying changes in a senior's motion. The Alert System consisted of an LCD Display, LED, and Alert Buzzer. The Power System supplied the necessary electrical power to the system and included a Switch for controlling the device. Finally, the Aid System incorporated a Lid-Opening Servo. This provided a mechanical function that could be controlled by the Raspberry Pi Pico and demonstrated how the device could go beyond simply detecting and reporting an event by incorporating a physical response into the system. I collaborated with the programming team and went through multiple design revisions to meet the specifications they required, and learned a great deal about project management, time constraints, and scope creep!
Read More
Majority Vote (11)
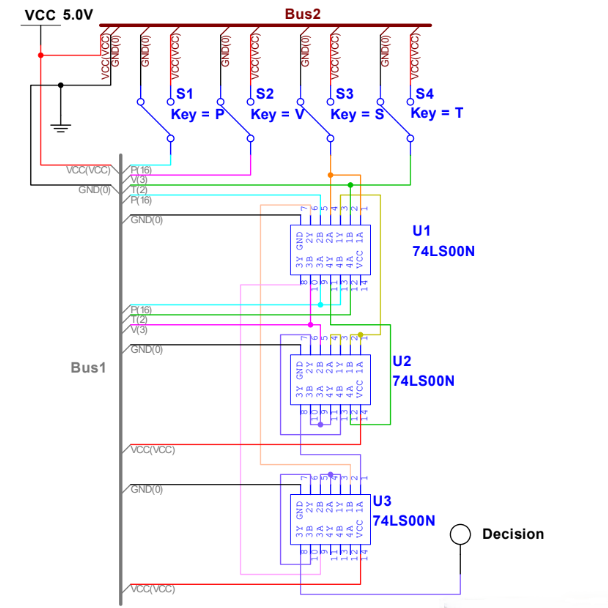
The majority vote is meant to accomplish the task of mitigating potential counting errors in voting systems. In this project, I was meant to create a circuit that incorporated both a majority voting system and a presidential overrule in the event of a tied vote. In a real-world context, this circuit could be used in legislative branches such as the Senate. Since the Senate has 100 members, a tied vote would force the Vice President to vote on the issue as well, mimicking the designed circuit (albeit at a much larger scale). In practice, however, the circuit could be easily expanded to accommodate the larger voting body, highlighting one benefit of the design. I learned a wide variety of technical skills from the project. Foremost, I gained experience and fluency in schematic creation using Multisim. Additionally, I furthered his understanding of logic expressions and the simplification process of complex expressions extracted from truth tables using multiple methods, including Karnaugh mapping and boolean algebra simplification. Practically, I gained experience in breadboarding more complex circuits, gaining skills that are transferable to a wide range of projects.
Read More
Random Number Generator (11)
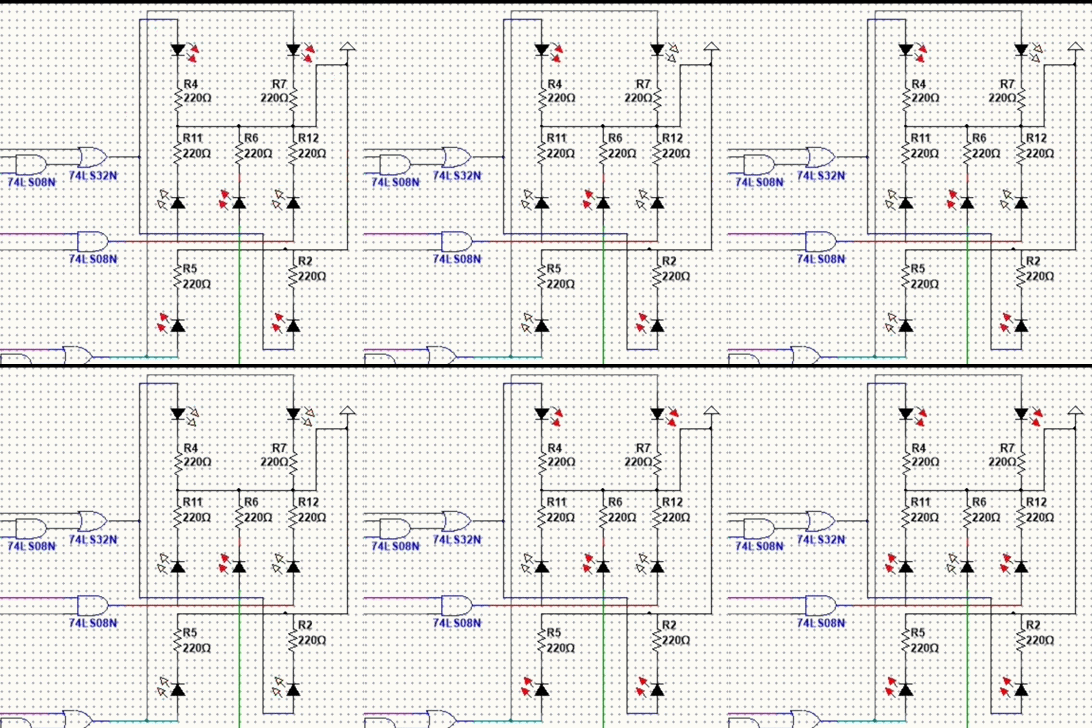
After learning about sequential and combinational logic, we were challenged to make a random number generator (RNG) that “rolls” a die and outputs a number from 1-6 based on the roll. This project combined our knowledge of capacitors, 555 timers, D flip-flops worked, boolean logic, and simple electrical components to complete our final project. Throughout this process, I learned a lot about the different components used in the circuit. For example, I learned how capacitors and capacitance worked, how 555 timers used resistors to vary their oscillation period, and how frequency dividers could serve as binary counters. I also gained knowledge on circuit design software (CDS) and utilized this knowledge to design the schematic in NI Multisim and make it easily followable at first glance.
Read More
Machine Control Project (10)
We had to utilize our knowledge of VEX V5 components and programming to design and code a working machine based on a set of criteria and constraints given to us. We worked to solve a realistic engineering problem, completing the full design process from defining the problem to presenting the solution. I learned how to research and brainstorm an effective design, implement that design using CAD design software, create a detailed BOM for ease of assembly, efficiently program an elevator that meets the design criteria, program an elevator using a proportional controller, and display telemetry that effectively communicates the status of the elevator, and communicate with my team members to ensure our project stayed on schedule.
Read More
Compound Machine (10)
Our team's project was to brainstorm, design, construct, and test a compound machine that moves a 1000-gram weight 5 inches vertically and utilizes at least five simple machines. We worked in a group to effectively demonstrate simple machines and calculate their respective mechanical advantages. I learned a variety of technical and soft skills, but I feel the most important one I learned was project management. Although the primary objective of this project was to complete the objective, it was structured in such a way that we as students could practice working in an environment more similar to that of real-life engineers through systems engineering. I learned how to effectively work in a team, assess my teammates' strengths, and assign them roles that best fit their abilities. I was also exposed to different scheduling methods such as a Gantt chart to keep the project on track. As for the primary learning objective, I learned how to iterate on previous designs and take feedback from others to construct a working final product. I was also able to use prior knowledge and experience in CAD software (i.e. Onshape) to create technical drawings for our design, helping the rest of my team understand the build process and the various methods through which we transferred mechanical energy.
Read More
Motor Car (9)
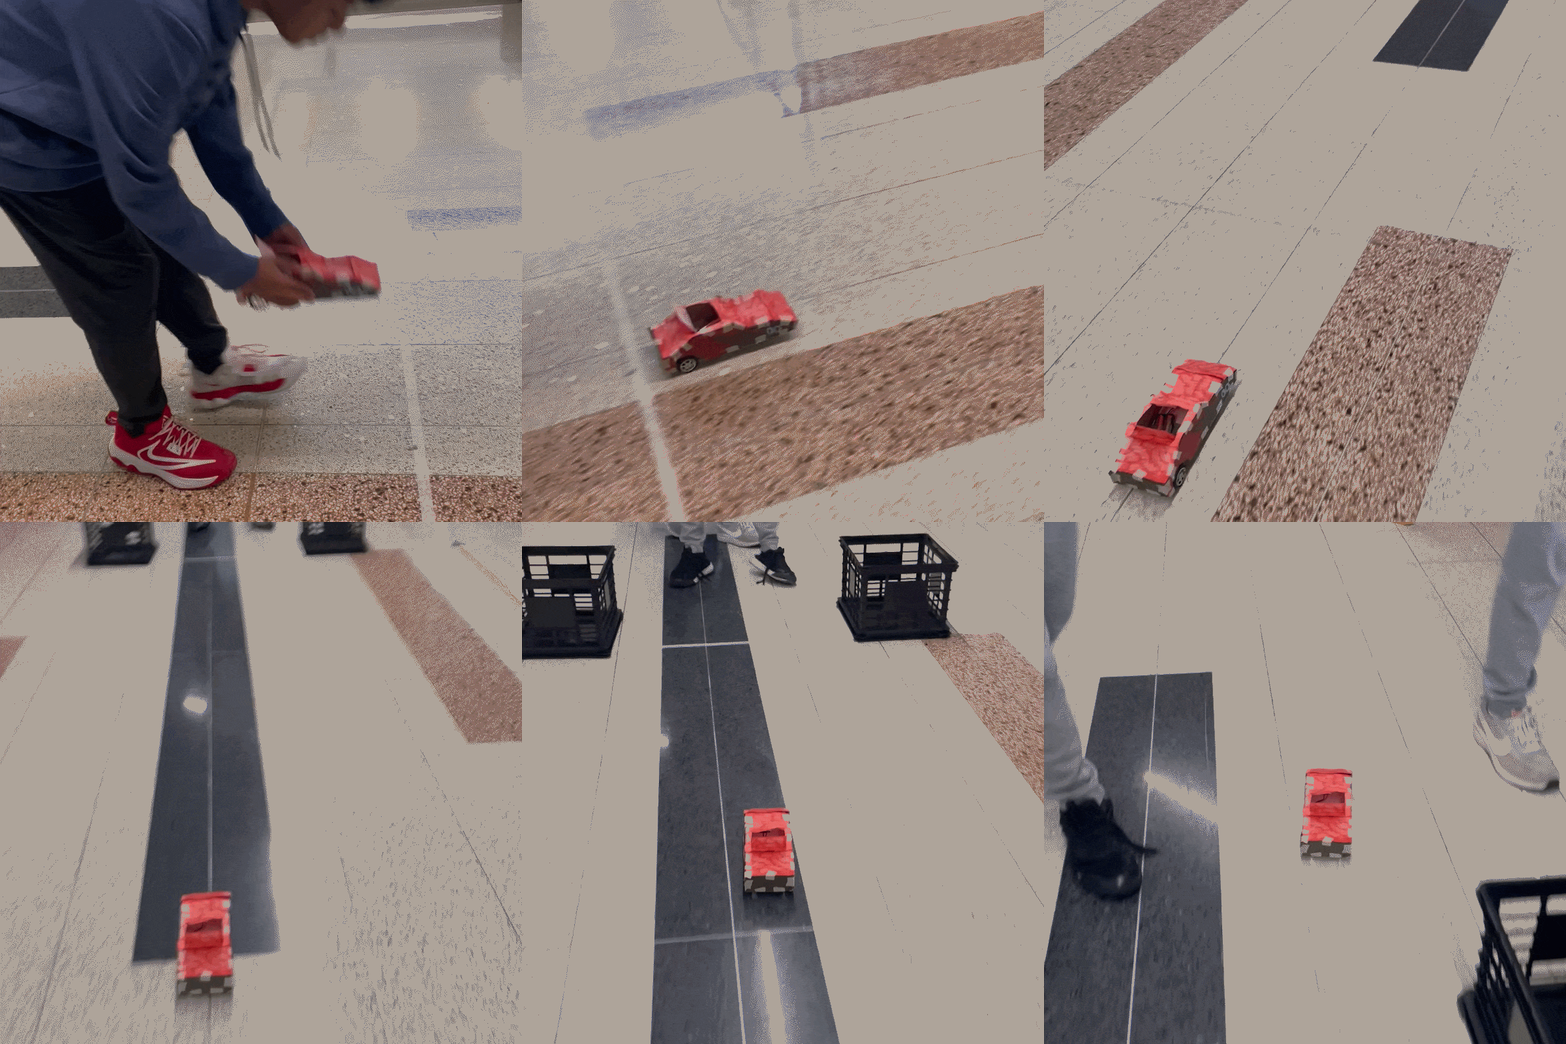
Our goal was to brainstorm, research, design, construct, and test a motorized toy car that teaches students different mechanisms in an engaging manner. To create a successful motor car, we had to create an economically feasible design while working with the constraints and criteria given to us. Most importantly, we had to create a car that did not drift in one direction or another and allow young students to use the car to learn about the car’s mechanisms. Our motor car has three main unique design choices: our low profile, our roof flap, and our direction motor to wheel connection. First, our low profile enables us to decrease our drag and slice through the air while driving. Second, our roof flap allow both teachers and students to easily access our electronics and understand the electrical side of the car. Finally, our direct motor-to-wheel connection both eliminates problems while solving other. By connecting the wheel directly to the motor, we were able to maximize the efficiency of the motor. The connection also allowed us to simplify our design by eliminating the need for a pulley system, which added unnecessary complexity to the design. I learned how to work past struggles I faced while designing a product, collaborate with team members to generate effective solutions, and seek help from others when needed.
Read More
Automata (9)
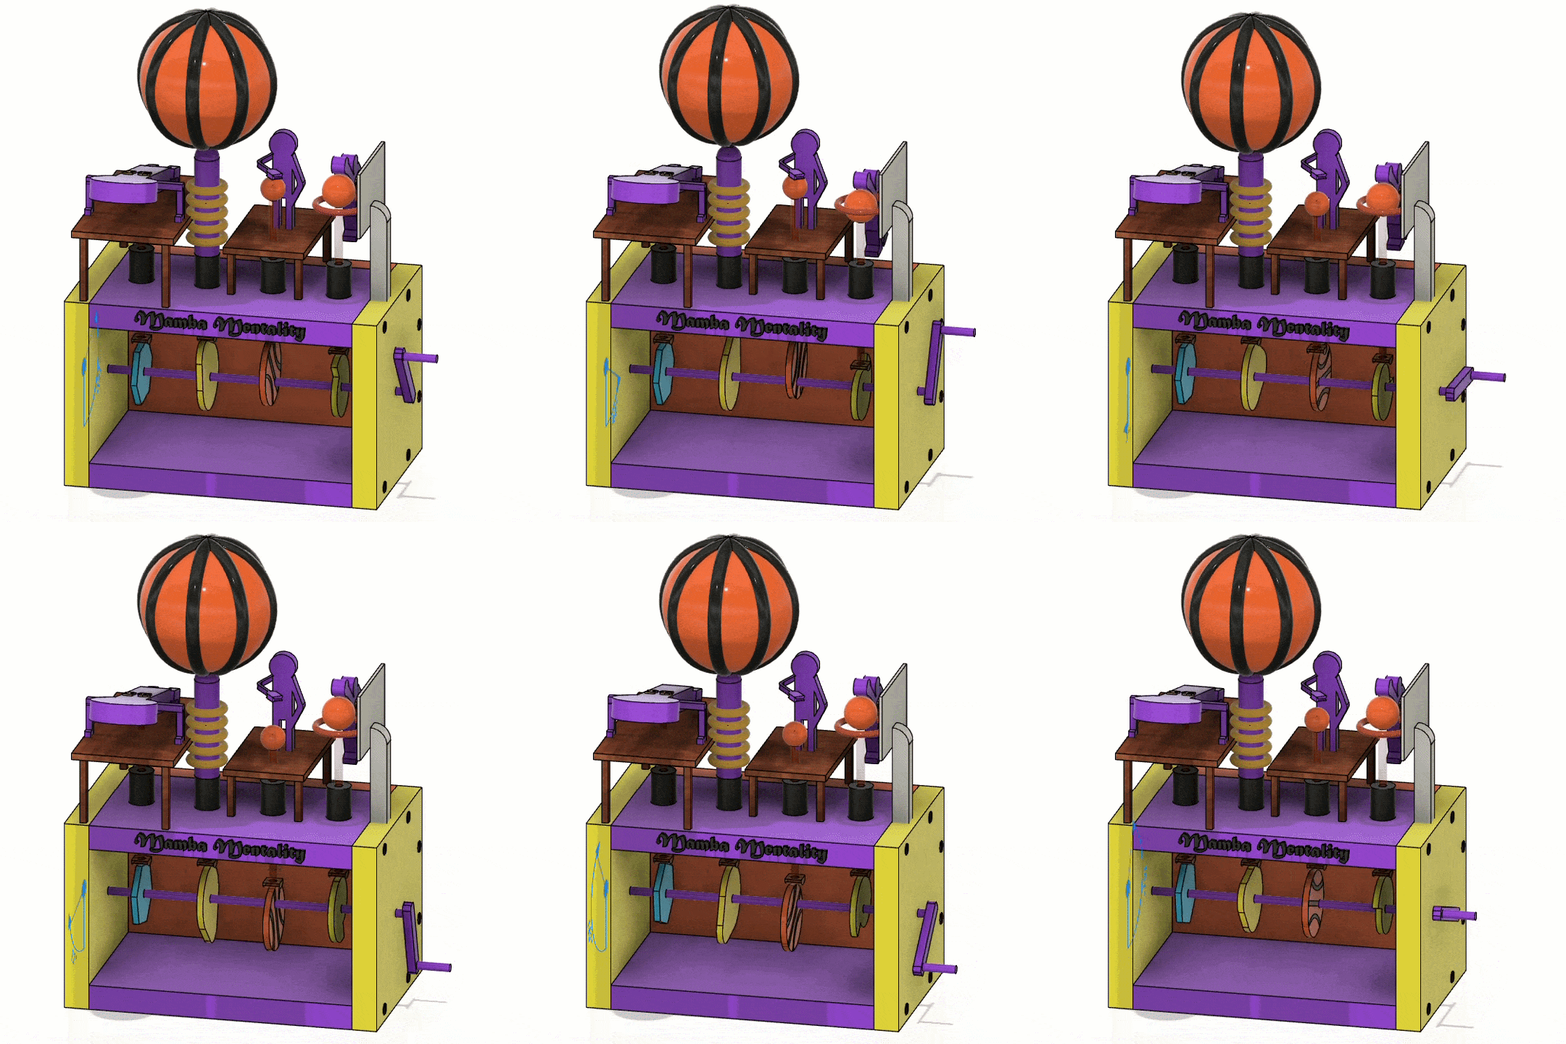
Our goal was to design a toy that includes a mechanical system that will produce realistic motion of a figure(s) or object(s) resulting from the rotation of an axle. The motion results in the interaction or coordinated movement of at least two separate displayed objects. What I learned - I learned how to use tangent, parallel, coincident, and colinear constraints, how to use parameters to make variable models, use sketches in tandem with modification tools to create parts based on drawing files, create accurate screw models using the thread tool, change the location of balloons on a drawing file for greater visibility, use joints, tangent relationships, and joint relationships to simulate the real-life movement of a product, add descriptions to components for further details, create a product based on a theme, create custom colors to complement my theme and use rigid groups to maintain contact between different components within a larger assembly.
Read More